Late-Night Cravings, Pantry Finds, and the Birth of Chia Jam Bars
I didn’t grow up making vegan anything, especially not chia jam bars. But here I am, in Portland, Oregon, standing in my tiny kitchen with my cat Miso eyeing me like I’ve done something illegal. It was a late night (as usual), and I wanted something sweet, satisfying, and not a total sugar crash waiting to happen.
I spotted some oats, a jar of homemade chia jam from earlier that week, and a spoonful of almond butter. I mashed things together without thinking too hard. The next morning, what I had was surprisingly good: chewy, fruity, satisfying—and completely plant-based. That was the moment I realized that chia jam bars could be more than just a happy accident. They could be a staple.
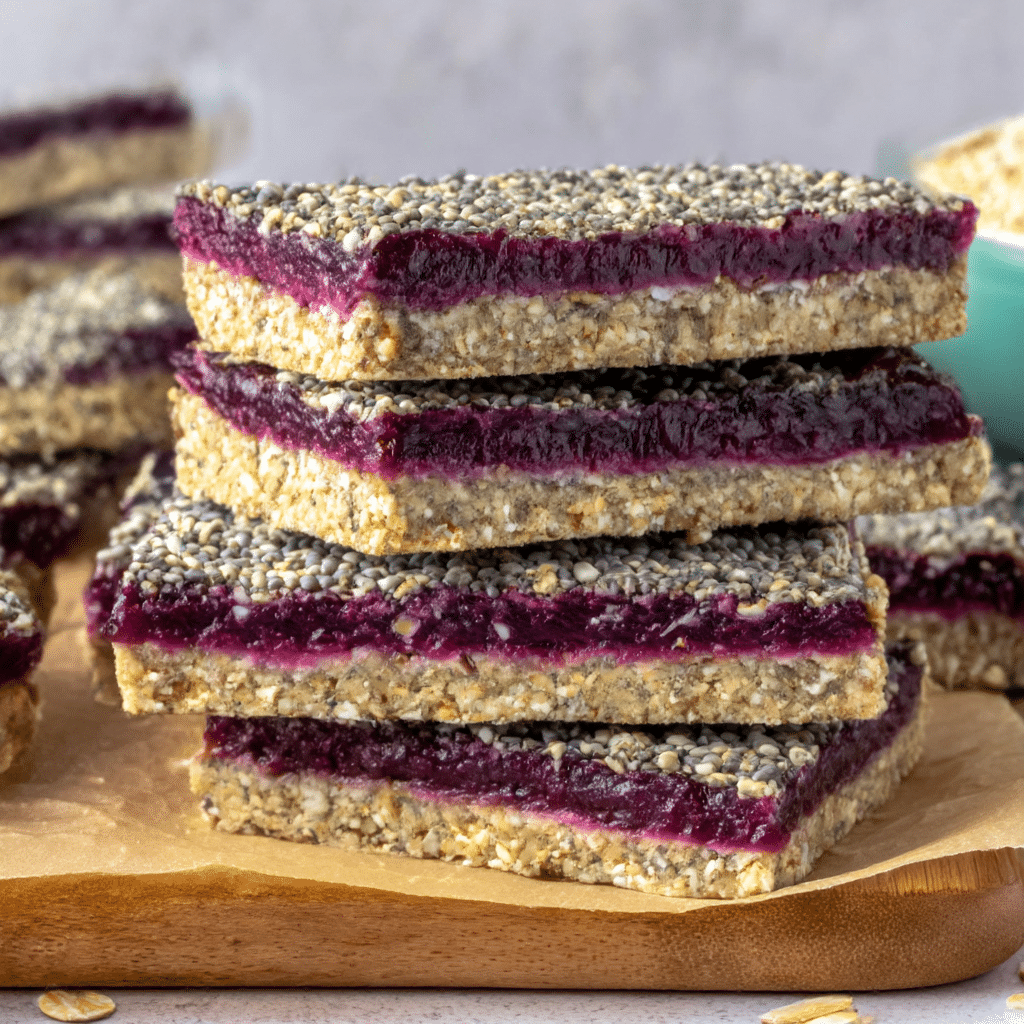
What started with cravings and chaos became one of my go-to snack recipes. WhatToWhipUp was built on moments like this: sticky hands, no preheating, and the joy of plant-powered baking that forgives your lack of sleep. If that sounds familiar, you’ll probably love experimenting with these no-bake strawberry pie layers just as much as I did.
Table of Contents
Chia Jam Bars: How to Make the Best Healthy Snack
Easy no-bake chia jam bars made with oats, almond butter, and naturally sweetened berry chia jam. Great for breakfast or snacks.
- Prep Time: 15 minutes
- Cook Time: 0 minutes
- Total Time: 30 minutes
- Yield: 12 bars 1x
- Category: Snack
- Method: No-Bake
- Cuisine: Vegan
Ingredients
1 cup rolled oats
1/2 cup almond flour
1/2 cup soft dates
2 tbsp almond butter
Pinch of salt
1 cup mashed berries
2 tbsp chia seeds
1–2 tsp maple syrup
Toppings: coconut flakes, dark chocolate drizzle (optional)
Instructions
1. Line an 8×8 pan with parchment paper.
2. In a food processor, blend oats, almond flour, dates, almond butter, and salt until sticky.
3. Press the base into the pan and chill.
4. Mash berries and mix with chia seeds and syrup. Let sit 15–20 minutes.
5. Spread jam over the base and chill again.
6. Add toppings if desired and slice into bars.
7. Store chilled up to 1 week or freeze up to 2 months.
Notes
Use any berry mix for the jam layer.
Soak dates in warm water if they’re too dry.
Double the batch and freeze for easy meal prep.
Nutrition
- Serving Size: 1 bar
- Calories: 140
- Sugar: 5g
- Sodium: 30mg
- Fat: 6g
- Saturated Fat: 1g
- Unsaturated Fat: 5g
- Trans Fat: 0g
- Carbohydrates: 18g
- Fiber: 4g
- Protein: 3g
- Cholesterol: 0mg
Why Chia Jam Bars Deserve a Spot in Every Vegan Kitchen
If you’re looking for a sweet, healthy snack that doubles as breakfast or dessert, chia jam bars are the MVP. They’re loaded with omega-3s, fiber, and just enough natural sugar to keep your energy up without the crash. The chia-based jam sets without needing pectin or gelatin, while the oat crust is no-bake, no-fuss, and endlessly customizable.
Plus, these bars are easy to batch prep, chill fast, and don’t demand precision. They’ve become a top request in my kitchen, right next to the vegan strawberry cream bars that share the same fruity charm. So grab a spoon (or two), and let’s turn pantry staples into the best chia jam bars you’ve ever sliced.
Building Blocks of Great Chia Jam Bars
Ingredients That Power Up Chia Jam Bars
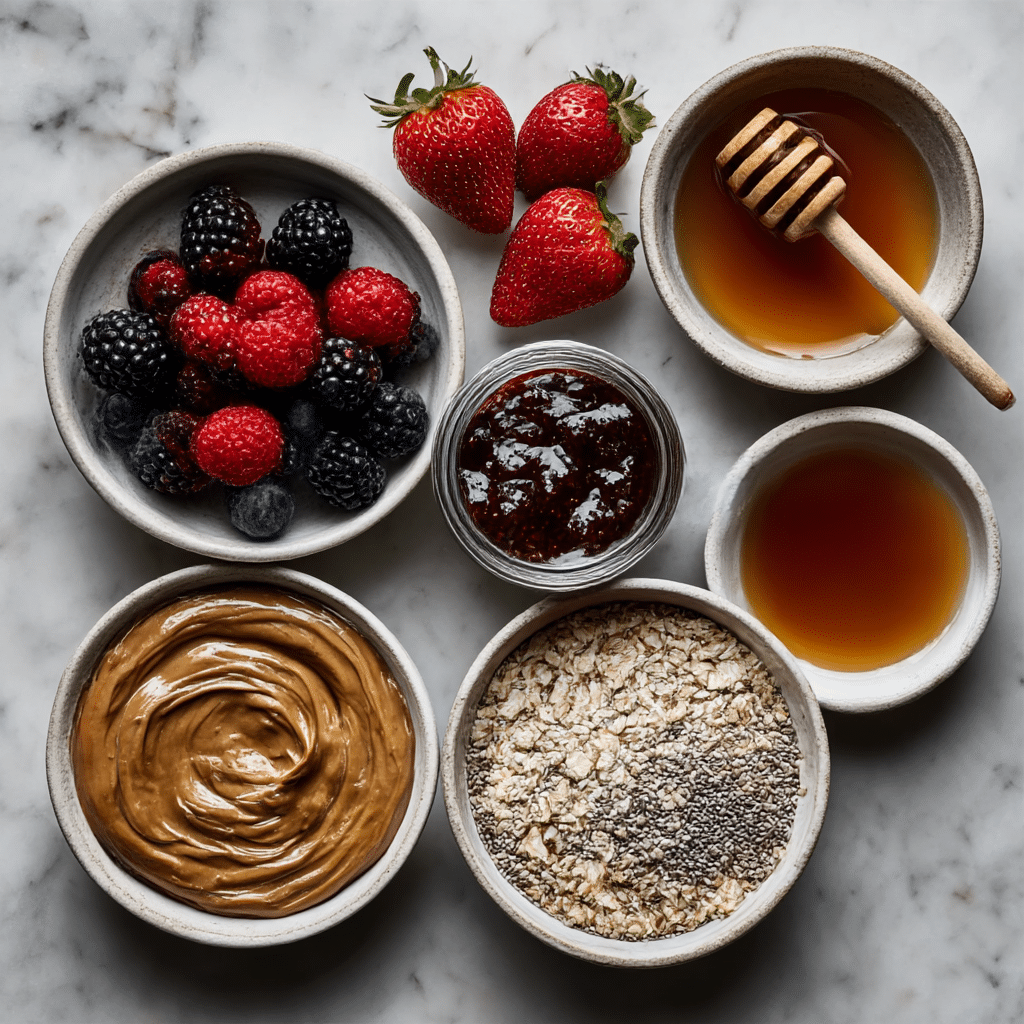
At the heart of truly delicious chia jam bars are ingredients that do more than just taste good—they nourish, bind, and balance. These bars are built on layers, and each one matters.
Start with the base:
Rolled oats give structure and chew. Almond flour adds richness without heaviness. A sticky binder—like dates, almond butter, or maple syrup—brings it all together without needing to bake.
The middle layer is where the chia magic happens. Chia seeds expand in moisture, thickening the fruit without needing gelatin. Add mashed raspberries, blueberries, or strawberries with a touch of maple syrup, and you’ve got jam that sets beautifully, tastes fresh, and packs serious nutritional power.
Then comes the topping. Optional, but highly encouraged: chopped almonds, toasted coconut, or a drizzle of dark chocolate. This final flourish turns everyday chia jam bars into something craveable and Instagram-worthy.
For more ideas, the layering in our icebox cake recipe shows how simple ingredients can create complex textures without heat or stress.
How to Make Chia Jam That’s Spreadable, Sweet, and Sets Just Right
The secret to perfect chia jam is ratio. Use 1 tablespoon of chia seeds per ¼ cup of fruit purée. This allows enough absorption for a spreadable jam that holds its shape without being dry or too firm.
Use fresh or frozen fruit, mash or lightly cook it down, and stir in the chia and sweetener of choice. Let it sit at room temp for 15–20 minutes. Chill for a firmer set. If it looks thin? Add more seeds. Too thick? A splash of lemon juice helps loosen it.
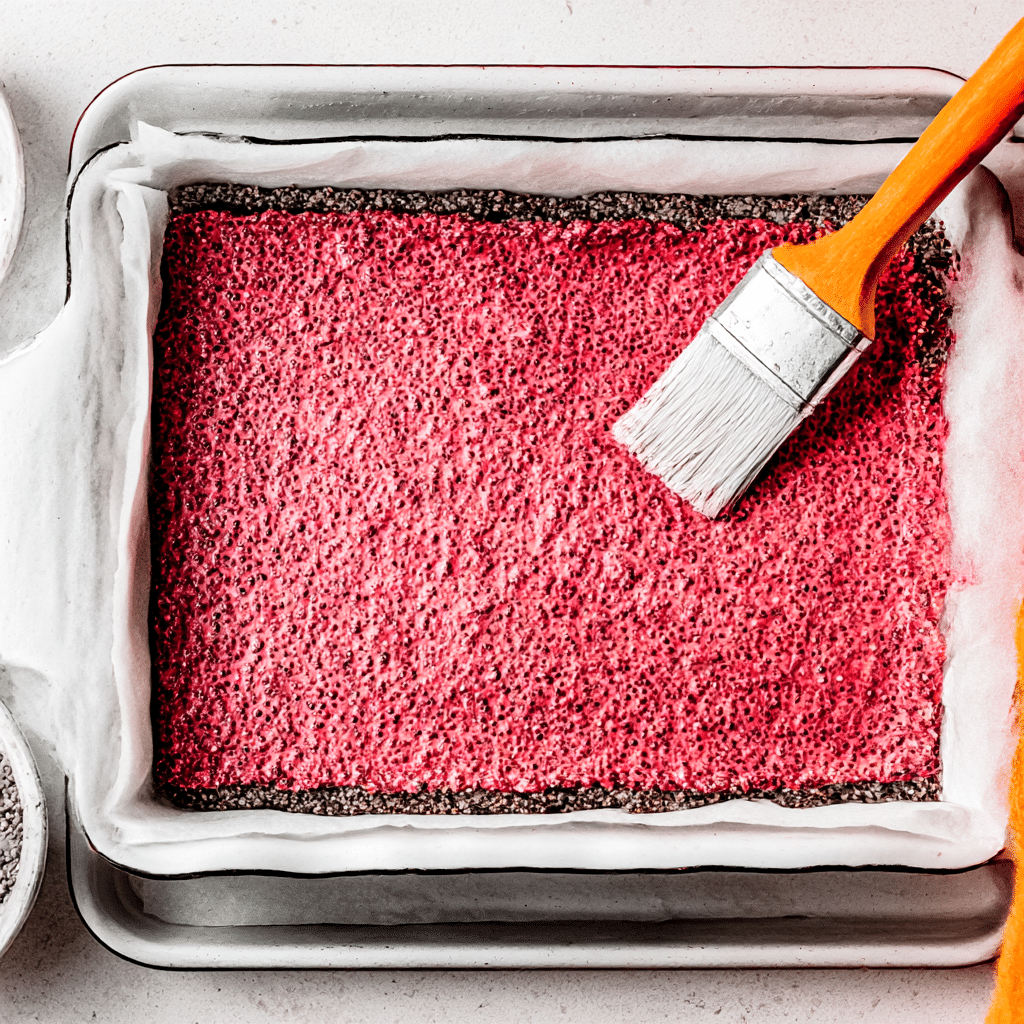
I cover this in more detail in the chia jam filling guide, especially if you want to scale up batches or experiment with flavors.
Well-made chia jam bars hold together, slice cleanly, and deliver flavor with every bite.
Customizing Your Chia Jam Bars with Flavors and Layers
Once you’ve mastered the basics, it’s time to experiment. Chia jam bars are one of the most forgiving snack formats out there, so go ahead and get creative.
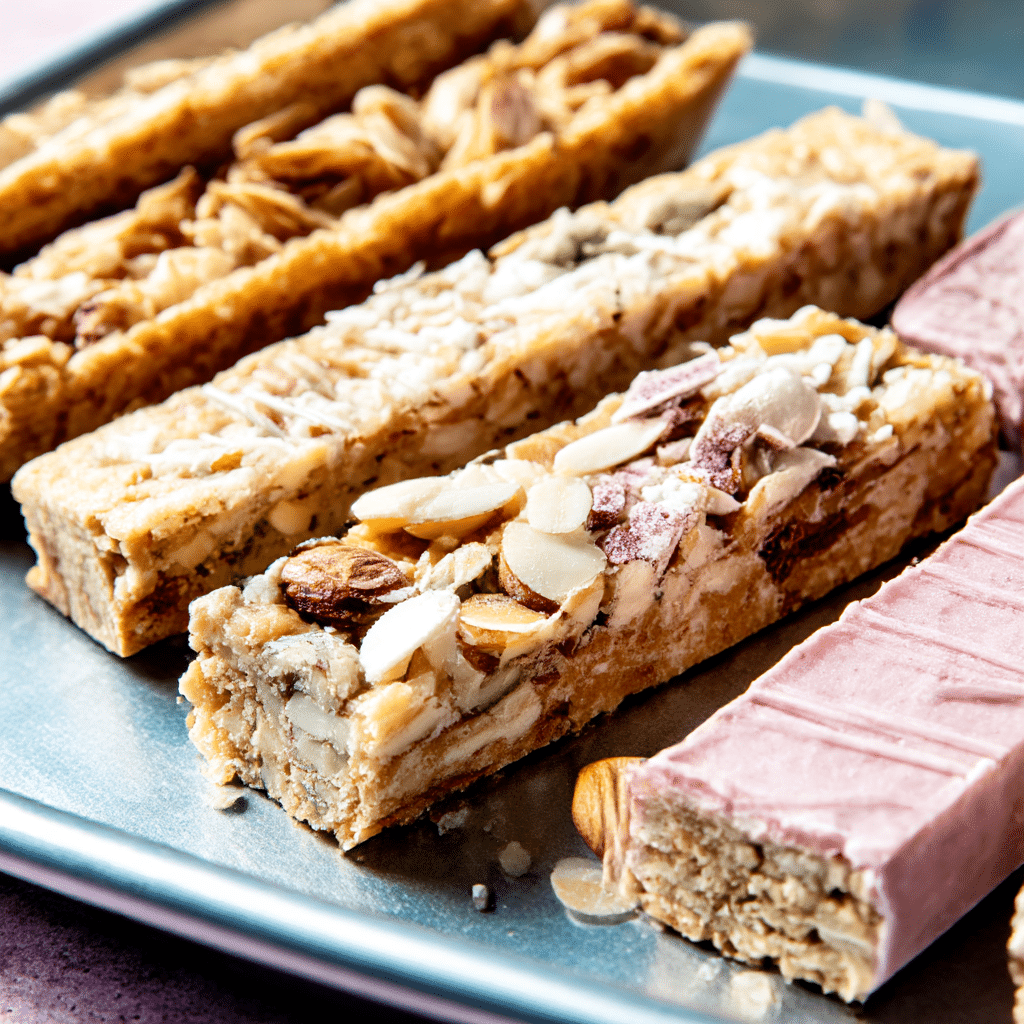
Try layering textures: a chewy oat crust, smooth chia jam, and a crunchy topping. You can even swirl in peanut butter or fold in chopped pecans. Want more of a breakfast bar? Add rolled oats or protein powder into the base. Need something dessert-worthy? A dark chocolate drizzle goes a long way.
Flavors to try:
- Raspberry jam + lemon zest + coconut
- Mango jam + ginger + macadamia nuts
- Blueberry jam + vanilla + hemp seeds
Chia’s mild flavor plays nice with anything. You’ll see similar flavor layering techniques used in our no-bake mango coconut chia cups—a great reference for working with soft textures and bold fruit.
Even leftovers of chia jam bars can be repurposed. Crumble them into a smoothie bowl or press them into bites for a snack on the go, like the ones in our no-bake troubleshooting guide.
How to Store Chia Jam Bars for Long-Lasting Freshness
One of the most practical benefits of making chia jam bars at home is how well they store. You can prep a batch on Sunday and enjoy them all week long without sacrificing texture or taste.
For short-term storage:
Keep the bars in an airtight container in the refrigerator for up to 7 days. Stack them with parchment paper between layers to prevent sticking.
For long-term storage:
Freeze the bars for up to 2 months. Wrap individually in parchment or wax paper and store in a freezer-safe container. Thaw in the fridge overnight or at room temp for about 20 minutes.
Want them ready-to-eat in a rush? Try pre-cutting before freezing so you can grab one straight from the freezer—just like a store-bought snack but way better.
This meal-prep approach works especially well with other layered snacks, like our 5-ingredient vegan cheesecake, which also freezes and thaws beautifully.
Should You Buy Chia Jam Bars or Always Make Them?
There are a few solid store-bought options for chia jam bars, but most fall short when it comes to clean ingredients. Look out for products with added sugar, gums, or “natural flavors”—which often mask less-than-natural processing.
Before buying, check the ingredient label carefully. The Cleveland Clinic’s nutrition label guide is a great reference for spotting red flags like hidden sugars and synthetic additives.
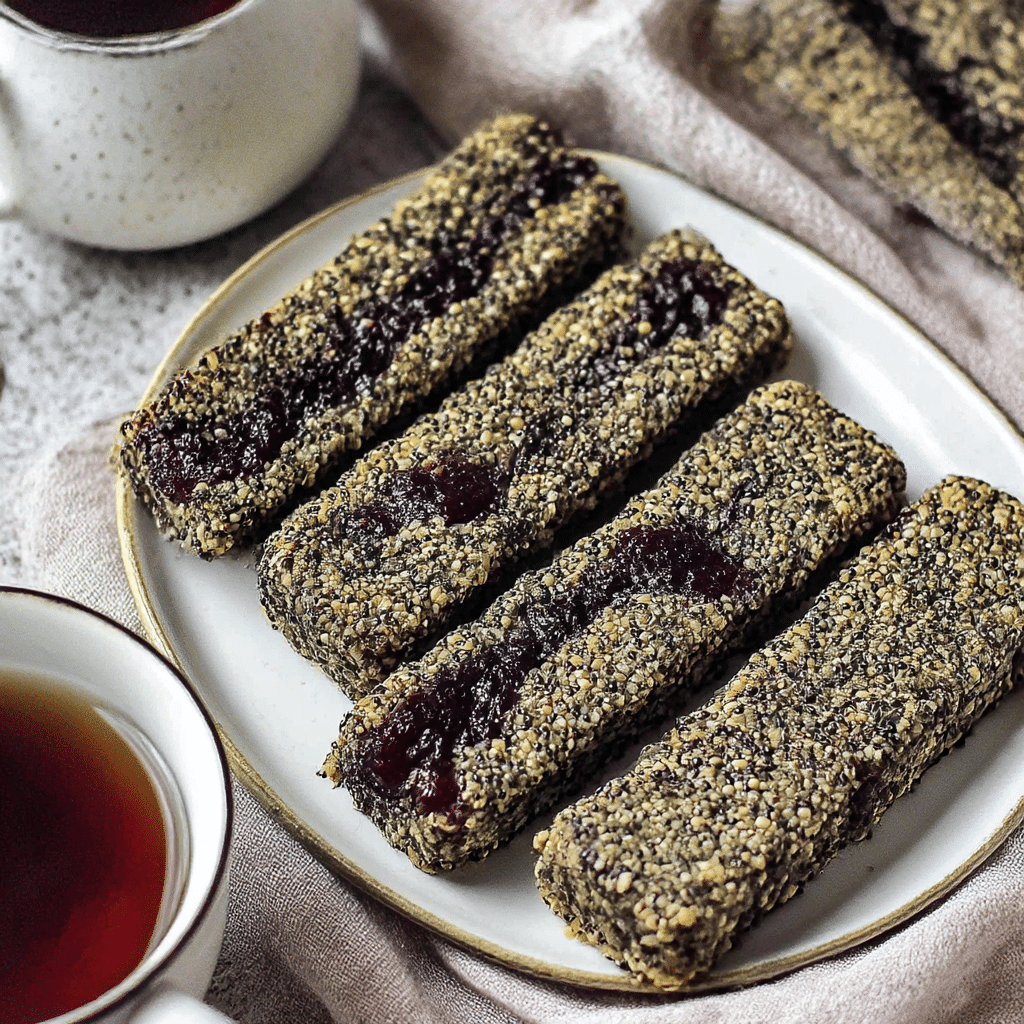
If you find a clean bar that’s fruit-sweetened, uses real chia, and avoids preservatives, great! But most of the time, your homemade chia jam bars will beat the store version in cost, flavor, and nutrition.
FAQs: What People Want to Know About Chia Jam Bars
What are the health benefits of chia jam?
Chia seeds offer omega-3s, fiber, and protein. According to Harvard T.H. Chan School of Public Health, they also help regulate blood sugar and promote satiety—making these bars more than just a sweet treat.
How long does chia seed jam last in the fridge?
Homemade chia jam keeps 5–7 days refrigerated in a sealed jar. For longer storage, freeze it in small portions and thaw as needed.
What to eat chia seed jam with?
Besides chia jam bars, try it on toast, swirled into yogurt, or layered in parfaits.
Is chia pudding too many chia seeds?
Not if balanced! Most chia pudding uses 2–3 tablespoons per serving, which is safe and healthy for most people. But mix it up—use chia in jam, bars, and smoothies too.
Conclusion: Why Chia Jam Bars Are a Must-Make
Whether you’re here for a snack that’s nutrient-dense or just want something sweet without turning on the oven, chia jam bars deliver on every front. They’re no-bake, endlessly customizable, and surprisingly rich in omega-3s, fiber, and plant-powered goodness.
These bars are more than just a snack—they’re an invitation to experiment, to mess up, and to get it deliciously right the next time. They freeze well, slice beautifully, and can be dressed up or kept rustic. From my late-night craving to your kitchen counter, this one’s for every snack lover who believes that healthy can still be sweet.

