Table of Contents
Why I Fell in Love With This Icebox Cake Late One Summer
I love how this vegan icebox cake gets better overnight—just like the layered desserts recommended by Serious Eats. The crackers soften, the cream sets, and the flavors meld into one chilled, dreamy bite. There’s no oven to preheat. No fancy tools. Just a little patience and a fridge. If you’re like me and you love shortcuts that actually work, this one’s a keeper.
I layered what I had: whipped cream and crackers, then chilled it overnight. The next day, it sliced like a dream—cool, creamy, and just sweet enough. That moment changed how I think about summer desserts. An icebox cake is low-effort, no-bake, and honestly, kind of magic. No baking, no exact measuring, and somehow it always turns out.
Plus, it’s the ultimate blank canvas. I’ve thrown in everything from berries to crushed cookies. You can switch up the fruit with whatever’s in season. For those mindful of nutrition, Harvard T.H. Chan School of Public Health offers clear, evidence-based guidance on balanced eating if you want dessert to fit into your meal plan without guilt.
It’s what I reach for when No-Bake Strawberry Pie feels too fruity or my No-Bake Chocolate Tart feels too rich. The icebox cake is your flexible middle ground. You can throw in jam, ganache, sliced fruit, or even espresso. It becomes whatever flavor you’re craving—without heating a thing.

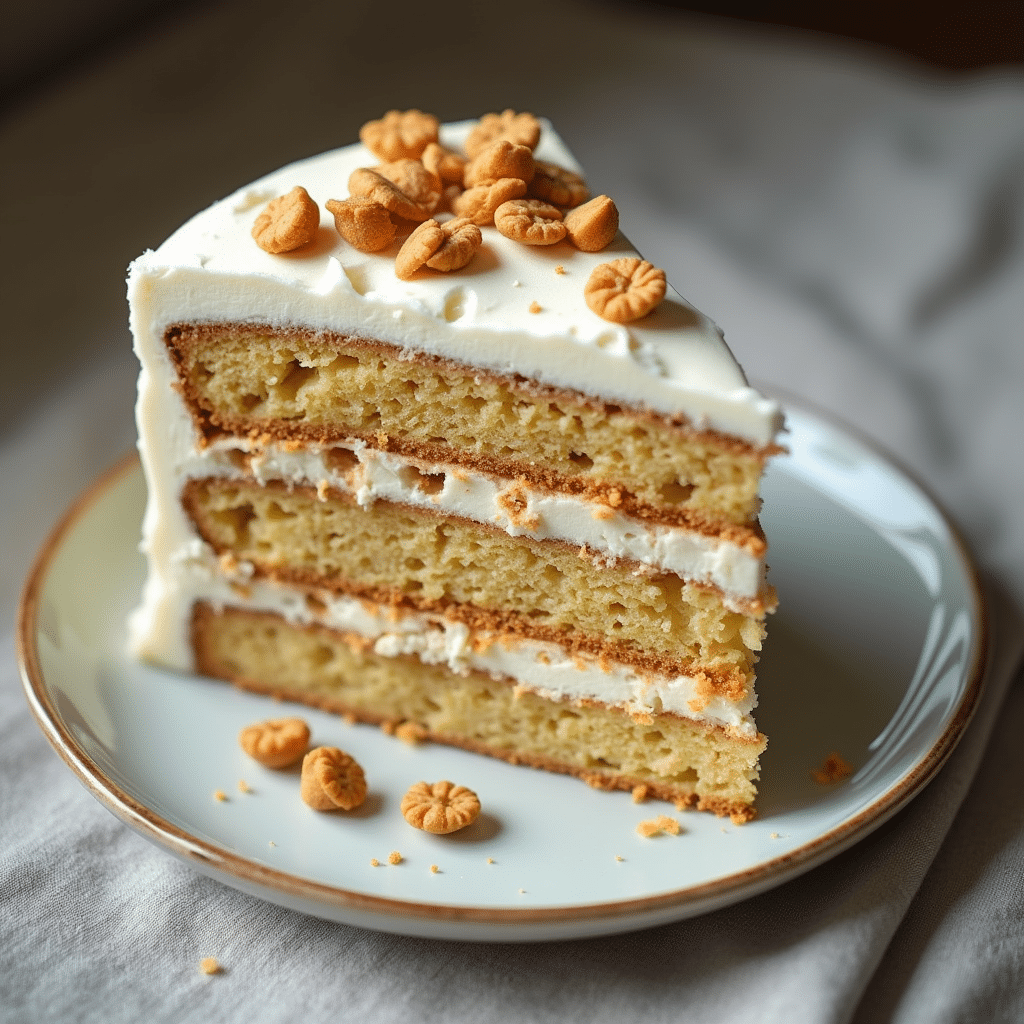
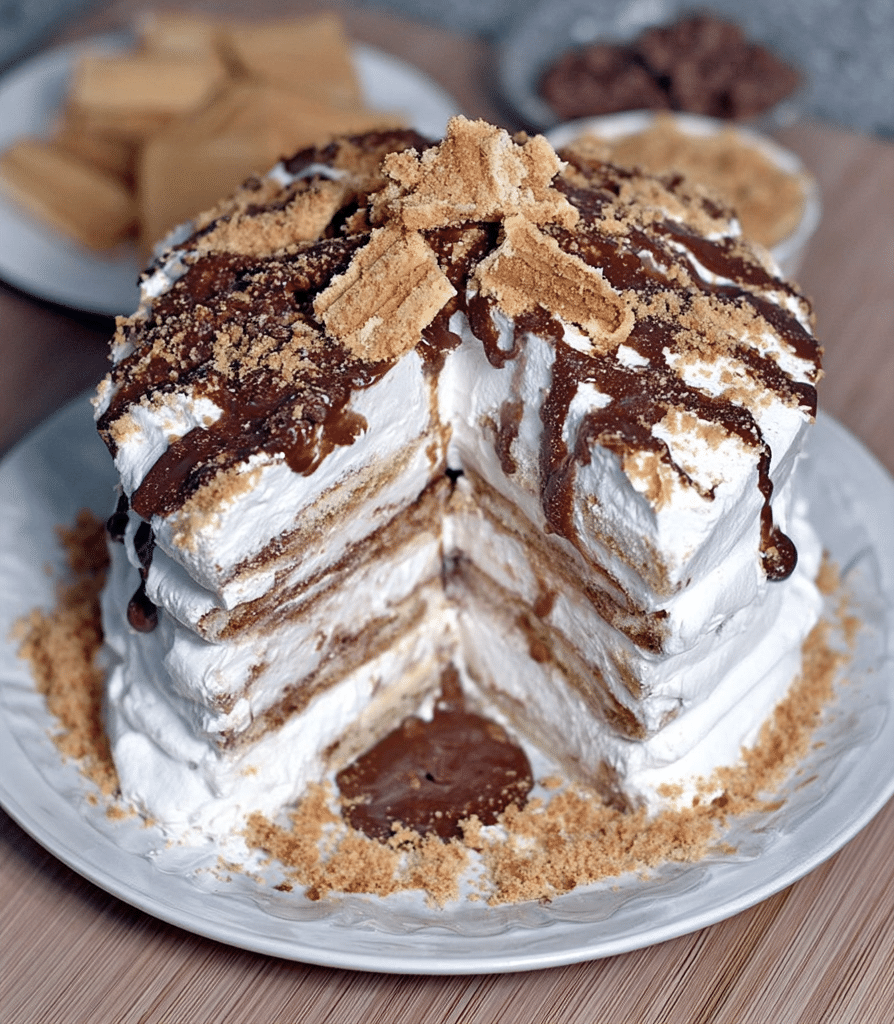
What makes an icebox cake irresistible is its transformation in the fridge. The wafers or crackers soften into a cake-like texture, while the filling sets up just enough to hold shape. And yet, it still has that spoonable ease, like it was meant for lazy afternoons and second helpings.
If you’ve never made an icebox cake, this is your sign. Start with what’s in your pantry, layer with love, and chill. It’s the dessert that gets better with time—and tastes like summer even when it’s snowing outside.
This no-bake icebox cake is all about simple layering. Here’s what you’ll need:
| Ingredient | Quantity |
|---|---|
| Vegan Whipped Cream | 2 cups |
| Graham Crackers (vegan) | 1 box |
| Fresh Berries | 1–2 cups |
| Chocolate Shavings (optional) | As desired |
Icebox Cake – The No-Bake Dessert That Gets Better Overnight
This classic no-bake Icebox Cake is layered with cookies and cream, then chilled overnight to perfection. Easy, flexible, and refreshingly cool.
- Prep Time: 15 minutes
- Cook Time: 0 minutes
- Total Time: 6 hours (chill time)
- Yield: 6–8 servings 1x
- Category: No-Bake Cakes
- Method: No-Bake
- Cuisine: American
- Diet: Vegan
Ingredients
2 cups chilled coconut cream
1/4 cup maple syrup or powdered sugar
1 tsp vanilla extract
2 sleeves graham crackers (or gluten-free alternative)
1 cup fresh sliced strawberries (optional)
Pinch of salt
Instructions
1. Whip the chilled coconut cream with maple syrup, vanilla, and a pinch of salt until light and fluffy.
2. Spread a thin layer of whipped cream on the bottom of an 8×8 dish.
3. Add a layer of graham crackers, breaking to fit as needed.
4. Spread a layer of whipped cream, then optionally add sliced strawberries.
5. Repeat layering until ingredients are used up, ending with whipped cream on top.
6. Cover and refrigerate for at least 6 hours or overnight.
7. Slice and serve cold with optional toppings.
Notes
You can swap coconut cream with store-bought vegan whip.
Add crushed nuts or chocolate drizzle on top for a finishing touch.
Best eaten within 3–5 days; store covered in the fridge.
Nutrition
- Serving Size: 1 slice
- Calories: 230
- Sugar: 10g
- Sodium: 120mg
- Fat: 18g
- Saturated Fat: 14g
- Unsaturated Fat: 3g
- Trans Fat: 0g
- Carbohydrates: 18g
- Fiber: 2g
- Protein: 2g
- Cholesterol: 0mg
How to Build the Best Icebox Cake Layers
Choosing the right wafers and creams
The structure of an icebox cake depends on two things: a base that softens just enough, and a filling that holds. Traditionally, people use chocolate wafers or graham crackers—but don’t stop there. Digestive biscuits, vegan shortbread, and even leftover Quick Vegan Pie Crust crumbles work beautifully.
For the cream, the best rule is: light but stable. Coconut whip, cashew cream, or plant-based yogurt all make dreamy options. I’ve used a mix of coconut cream and maple syrup for a sweet, dairy-free base that firms up without gelatin. Avoid anything too watery (like almond milk whip) unless you’re layering very thinly and chilling longer.

Use a square dish or line jars for mini portions. Start with a thin layer of cream, press in your wafer, then repeat. Always finish with cream on top—it seals moisture and gives you that classic icebox cake look.
Flavor ideas and quick layer combos to try
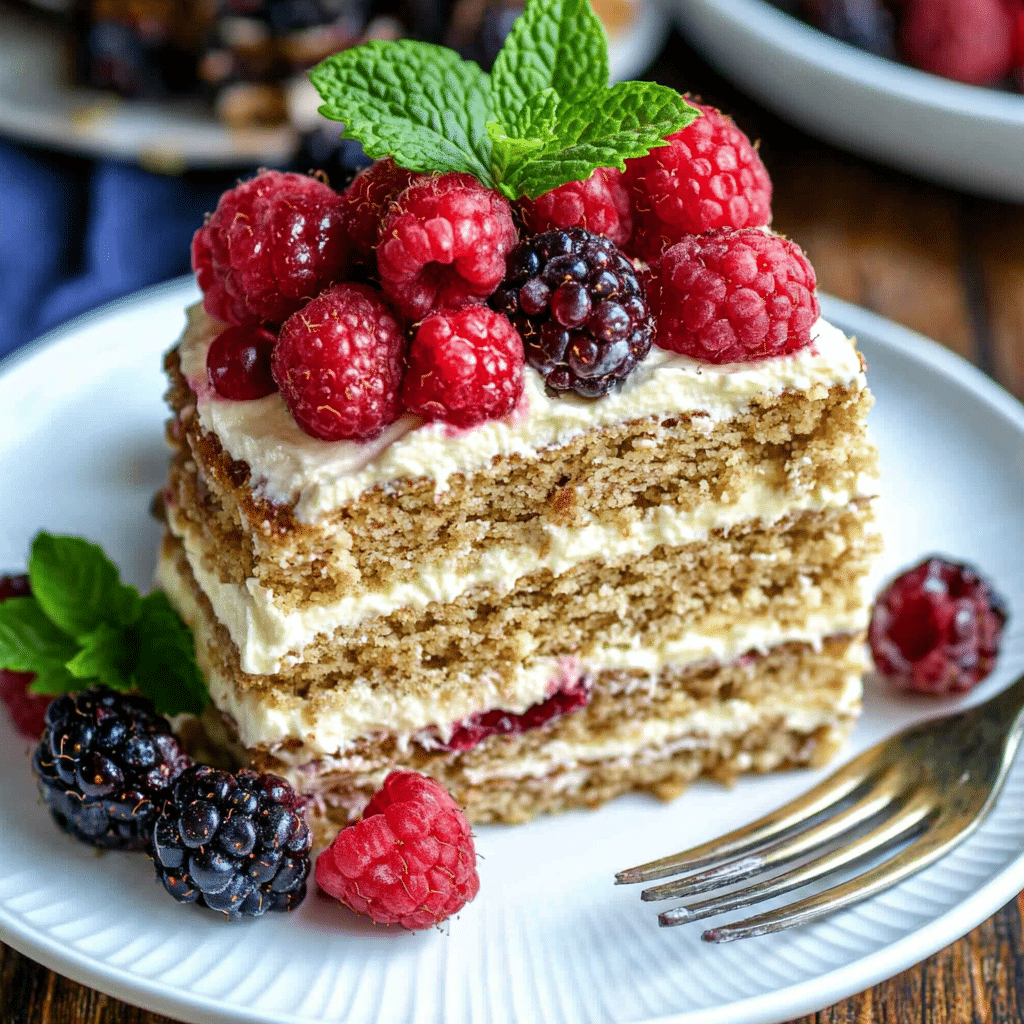
This is where it gets fun. You can build an icebox cake in endless variations. Go classic with vanilla and strawberry slices. Try mocha cream and chocolate wafers for a tiramisu vibe. Or mimic the flavors of our No-Bake Cheesecake Cups by swirling in a touch of lemon zest and berry jam between layers.
Want something unexpected? Add a layer of peanut butter or a quick chia compote between the cream. Sprinkle cocoa or crushed nuts on top before chilling. The icebox cake is like dessert Tetris—every combo locks in better flavor after a good overnight rest.
Layer smart, chill well, and let time do the work.
How Long Should Icebox Cake Sit? (And Why It Matters)
Fridge or freezer—what works best for texture
Let’s get one thing clear: your icebox cake lives and dies by the chill. Unlike baked cakes, this one needs time to transform. When you refrigerate it for at least 6 hours—ideally overnight—the cream softens the wafers into layers that feel like sponge cake.
Fridge chilling gives the best result for a soft, spoonable dessert that still holds its shape. But if you’re short on time, you can freeze your icebox cake for about 90 minutes, then move it to the fridge. This sets the layers quickly without turning it into a brick. Just be sure to cover it tightly to avoid freezer burn or weird textures.

Some bakers who run into issues with runny or slippy layers often skip this critical chilling step. If your cake falls apart or doesn’t slice cleanly, check out our No-Bake Troubleshooting tips.
Overnight chilling: the science of softening and setting
What happens overnight is a tiny bit magical. The moisture from your filling slowly seeps into the dry wafers, creating that tender, sliceable texture icebox cake is known for. At the same time, the fats in coconut cream or cashew blends firm up, locking everything into place.
This is why using the right layering rhythm is key—wafer, cream, wafer, cream. Too much moisture in one layer and you’ll get soggy spots. Too little, and it won’t soften. If you love the set-and-forget style of our No-Bake Mango Coconut Chia Cups, you’ll appreciate the simplicity here too.
Think of time in the fridge not as waiting—but as flavor building.
Make It Yours: Icebox Cake Variations You’ll Love
Vegan, gluten-free, or fruity: swap-ins that still work
One reason I keep coming back to icebox cake is how easily it bends to dietary needs. Gluten-free? No problem—use almond cookies, oat-based crackers, or leftover bits from our Gluten-Free No-Bake Cake. The layers still soften, and the final result is just as rich.
For a nut-free version, go with soy whip or oat cream as your filling base. I’ve even made a frozen-style icebox cake using banana nice cream swirled with peanut butter and date paste. Add crushed pretzels in between for that perfect salty crunch.
Fruit-forward versions shine in summer. Think mango and coconut whip, or berries with vanilla cream. Just make sure your fruit isn’t too wet—pat slices dry before layering to prevent soggy surprises.
How to slice, serve, and store like a pro
A chilled icebox cake should slice cleanly with a warm knife. Dip the blade in hot water, wipe it dry, then slice. For mini versions, I love building them in jars—you can screw on the lids and stash them in the fridge for up to five days.
When it comes to serving, garnish goes a long way. A dusting of cocoa, shredded coconut, or melted chocolate drizzle (like in our Lemon Berry Icebox Cake Pioneer Woman) adds polish without effort. Want to freeze your icebox cake for longer storage? Go for it—just thaw in the fridge overnight for the best texture.
If you’re the type to meal-prep desserts (you’re my people), this one’s your new best friend.
For visual inspiration and more culinary ideas, connect with other food enthusiasts and exchange ideas. Follow us on Pinterest and Medium. You’ll discover stunning presentations and helpful tips to perfect your dishes!
FAQs About Icebox Cake
Why do they call it an icebox cake?
The term “icebox cake” comes from the early 20th century when home refrigerators were called “iceboxes.” These cakes required no baking and were set in the icebox to chill and firm up. The dessert became popular as a simple, cool treat before electric ovens were widespread.
How long to let icebox cake sit?
Ideally, let your icebox cake chill in the fridge for at least 6 hours, but overnight is best. This gives the cream time to soften the cookie layers, resulting in a sliceable, cake-like texture. For quicker setting, freeze for 1–2 hours and then move to the fridge.
What are the best wafers for icebox cake?
Classic chocolate wafers and graham crackers are traditional. However, digestive biscuits, Biscoff cookies, or even gluten-free crackers can work. Choose dry, crisp wafers that will soften without turning mushy. Flavored or plain depends on your filling—let the combo guide you.
Does an icebox cake go in the fridge or freezer?
An icebox cake should be chilled in the fridge to develop that soft, layered texture. The freezer can be used for a quicker set or longer storage, but always let it thaw slightly before slicing. Over-freezing can make layers too firm and affect mouthfeel.
Final Thoughts: Let the Icebox Cake Work Its Magic
There’s something deeply satisfying about a dessert that does the work while you rest. The icebox cake isn’t just easy—it’s nostalgic, forgiving, and endlessly versatile. Whether you layer it with coconut whip and strawberries or chocolate cream and espresso cookies, it always transforms into something far greater than the sum of its parts.
This is the kind of dessert you don’t need a plan for—just a few pantry staples, a little layering, and time in the fridge. If you’ve tried our No-Bake Cheesecake Cups or No-Bake Strawberry Pie, then this recipe is your natural next move. It’s simple, chill, and sneakily sophisticated.
Try one version today. Tomorrow, you’ll want to try five more.

